


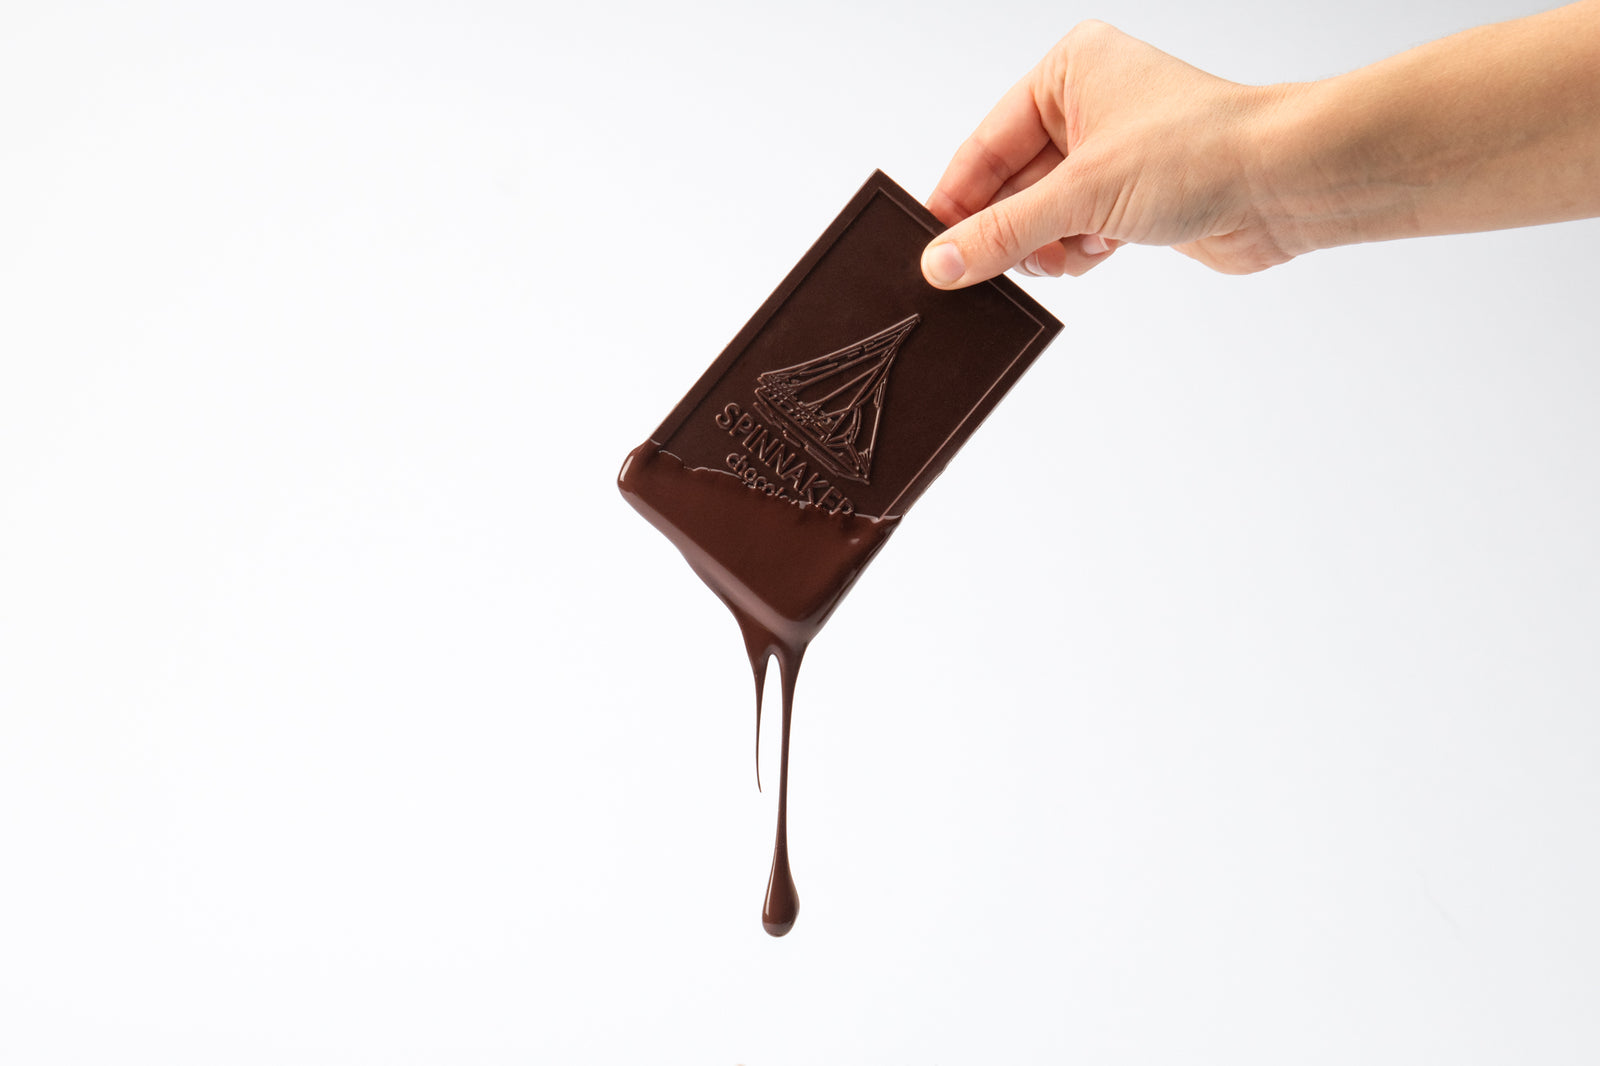

Most of us (myself included) take for granted that when we pick up a bar of chocolate, it won’t instantly become a gooey mess in our hands, but will melt into delicious goodness once we pop a piece in our mouths. Getting that balancing act right, however, requires chocolate-makers to follow a careful series of steps and know a little bit of science to boot.
By the time you’re finished reading this post, you’ll know what affects the melting point of chocolate, why tempering is such an important part of making chocolate, why different chocolates melt at different temperatures, and some helpful tips for melting chocolate at home.
If you're just worried about making sure your chocolate doesn't melt, here's the quick and dirty answer...
How should I store my chocolate?
Our rule of thumb is this: If your chocolate is stored in a temperature below 75° and not in direct sunlight, you should be 100% safe. Above that number or in direct sunlight, your milk chocolate will start to become chocolate milk pretty quickly. The numbers vary a little bit for dark chocolate which starts to melt at slightly higher temperatures – usually around 80°.
To be fully safe, it's best to keep all of your chocolate below 78° degrees and out of direct sunlight.
The science of melting points
In the simplest terms, melting is what happens when a solid turns into a liquid.
For a chemist, however, melting describes the molecular structure of a solid becoming less ordered. This process requires energy, and that energy usually comes in the form of heat.
Most solids are made up of atoms that are packed together in a repeating pattern, and in many solids, including chocolate, these repeating patterns take the form of microscopic crystals. This crystal structure is a key part of chocolate that makes it melt at just the right temperature.
The secret to chocolate's melting point is in the crystals
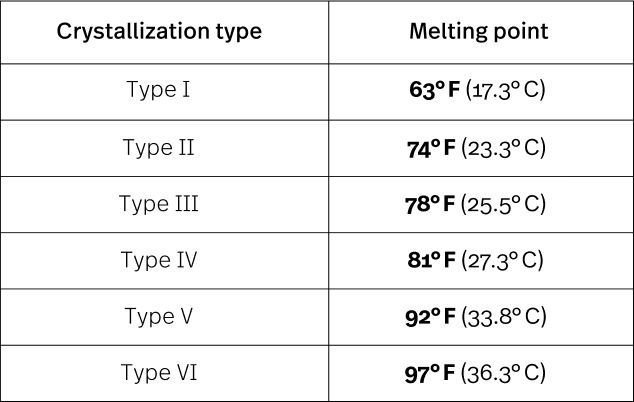
Cocoa butter — one of the key ingredients in chocolate — can form six different types of crystal structures, and each type of structure results in chocolate with different qualities.
Type I has the lowest melting range (61-64 degrees Fahrenheit) and is the least stable, while type VI has the highest melting range (93-97 degrees Fahrenheit) and is the most stable. Above 97 degrees, you can be certain that your chocolate will be fully melted.
There are other properties that the crystal structure of chocolate influences aside from melting point.
Chocolate containing mainly type II crystals is firmer than that containing mainly type I crystals, and so on. Type I-IV crystals also give chocolate a dull finish.
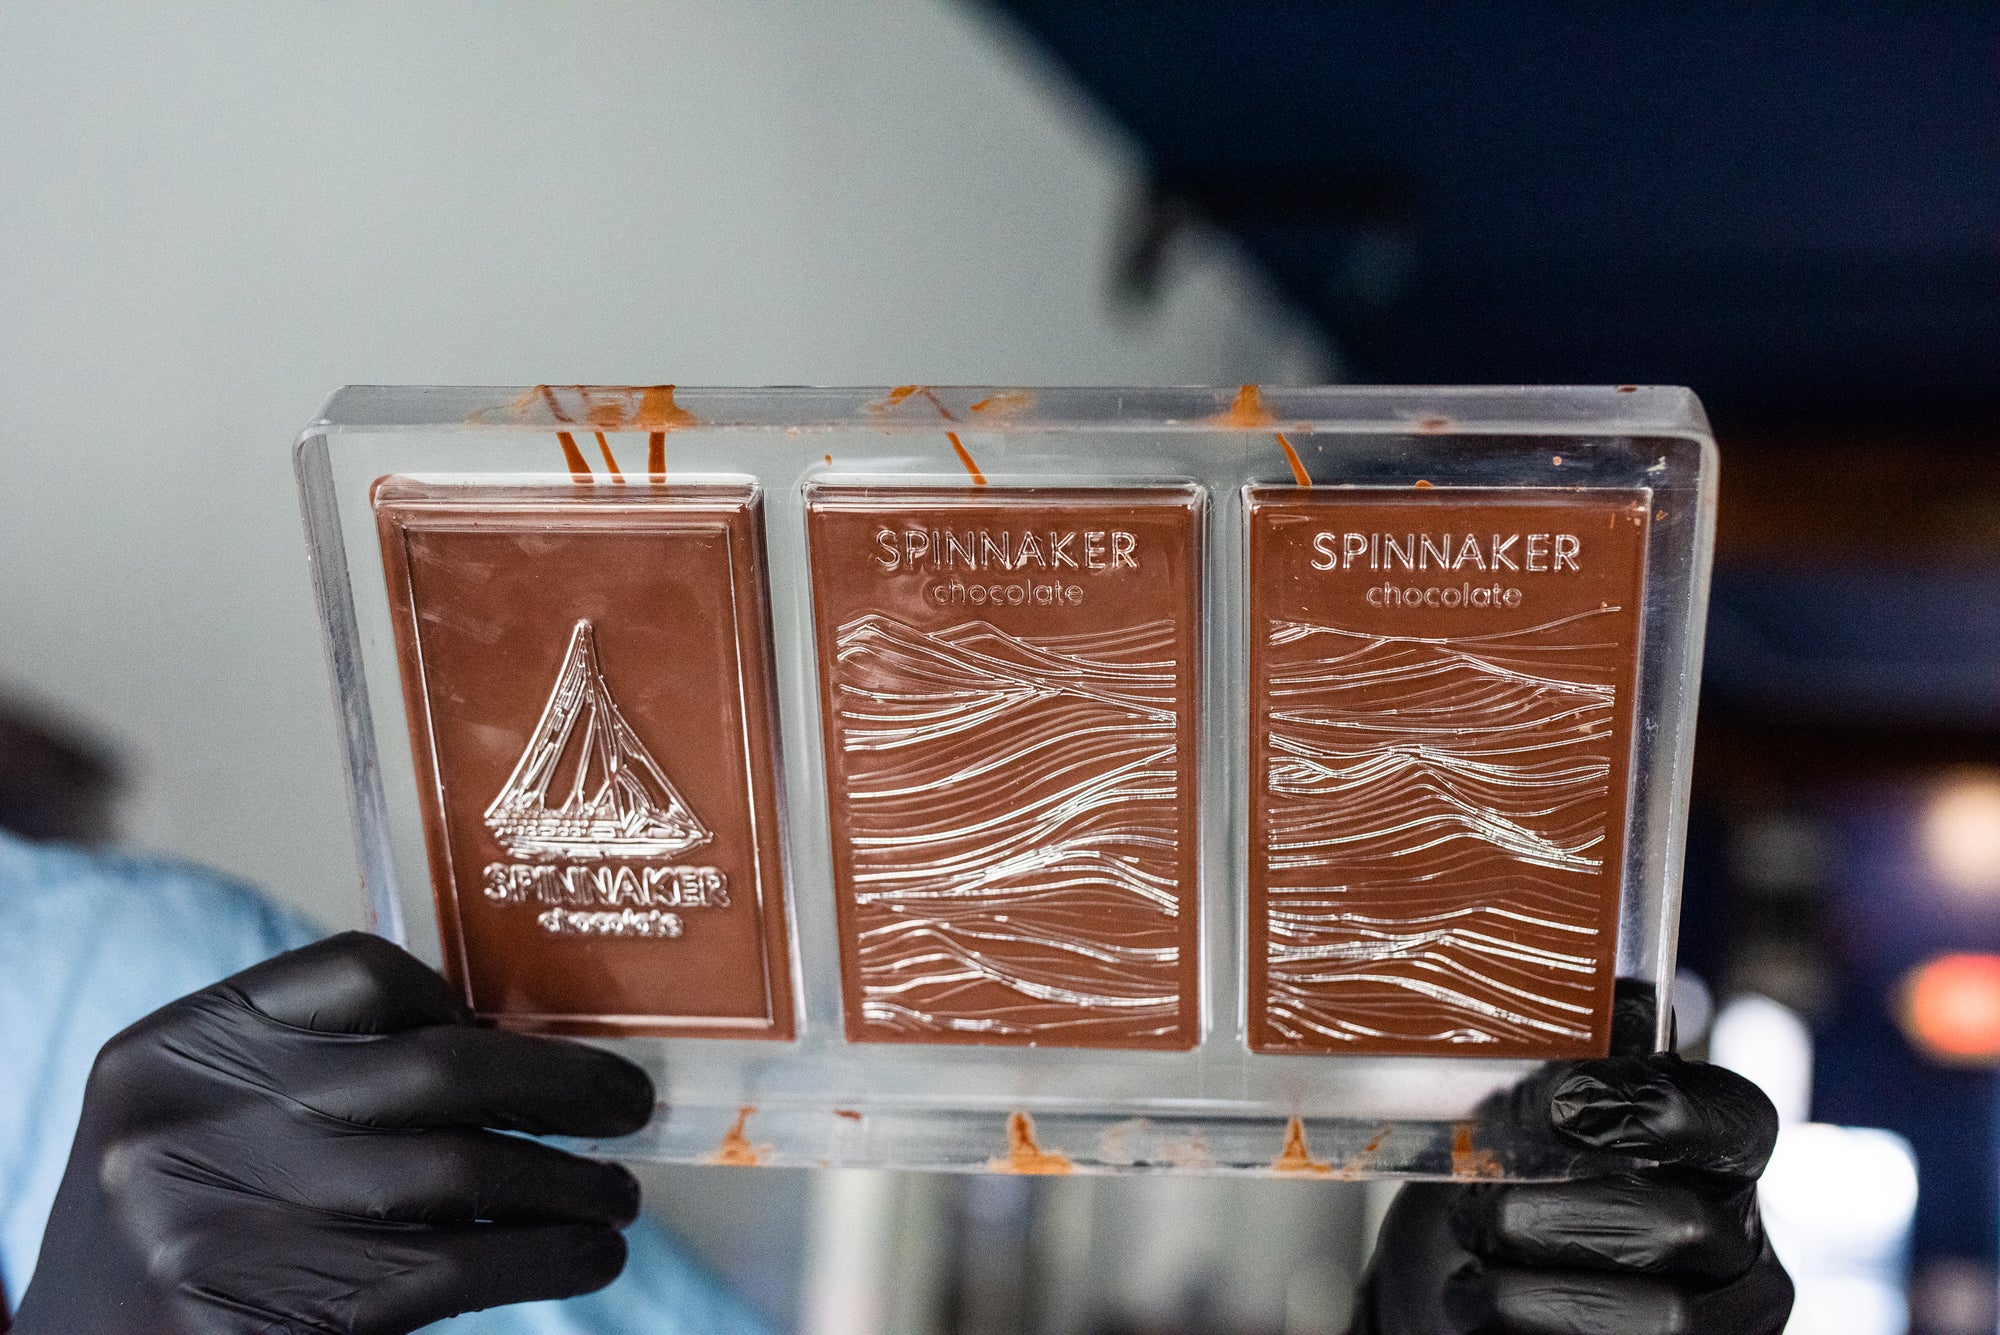
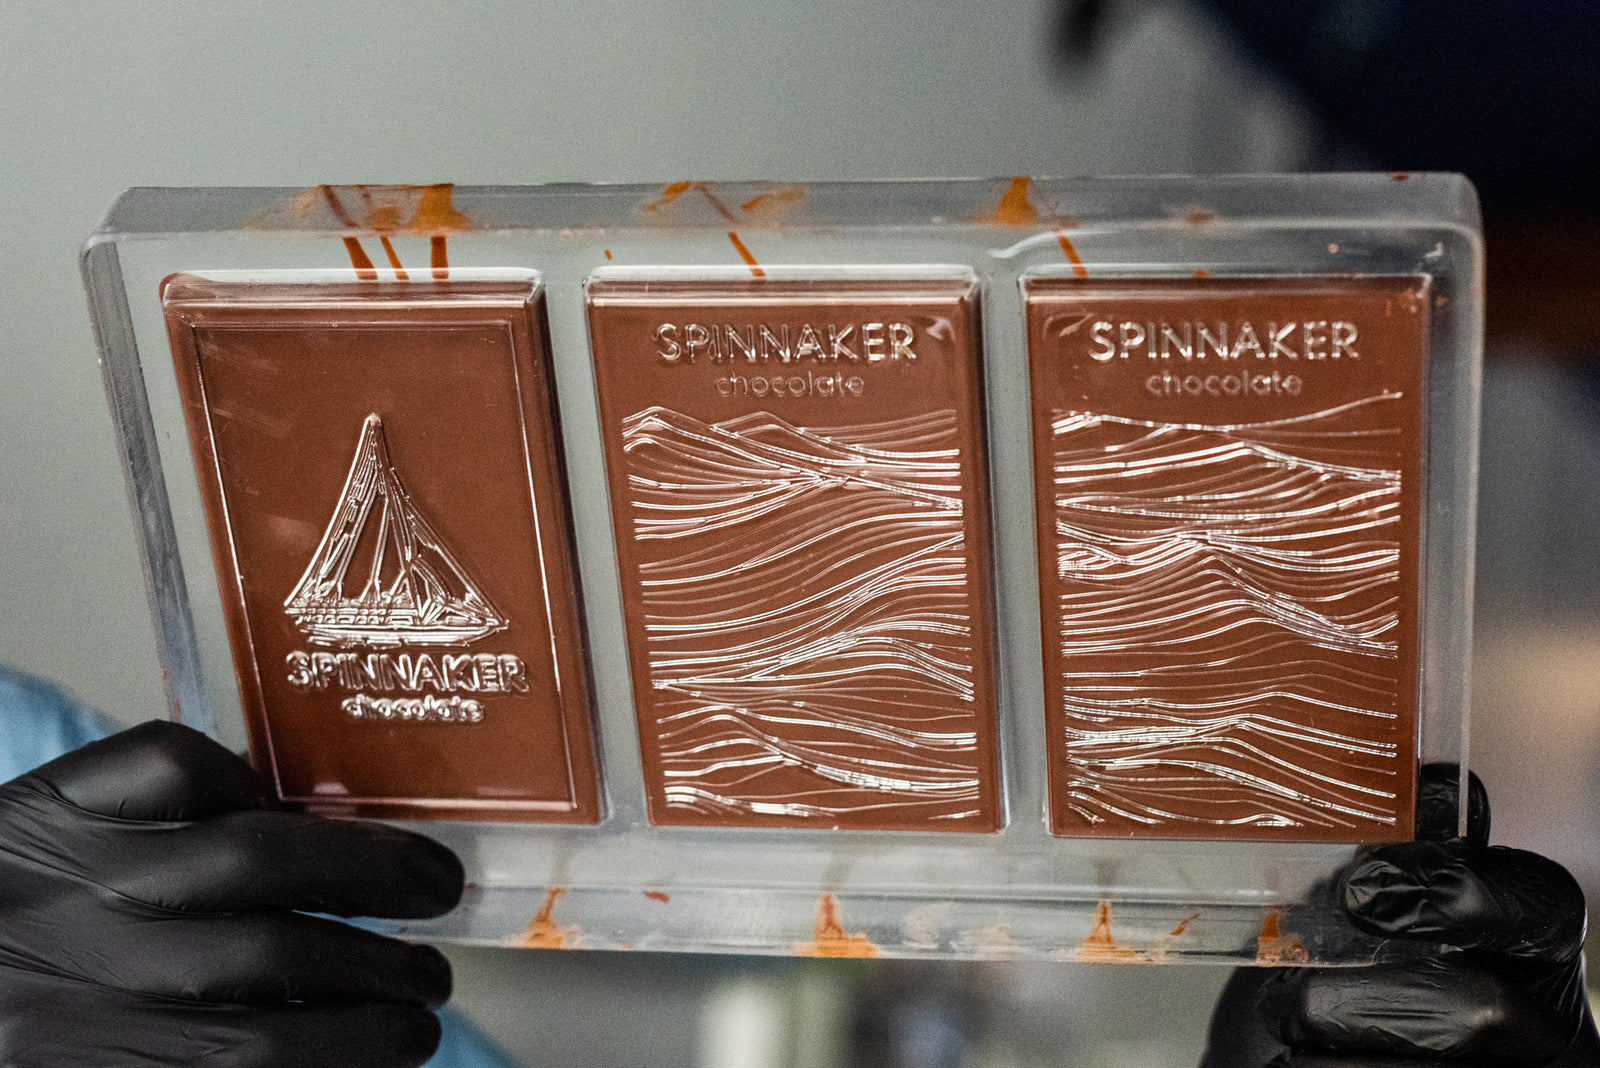
Type V crystals, with a melting range of 90-93 degrees Fahrenheit, produce chocolate that is firm at room temperature, melts easily in your mouth, gives a satisfying snap when you break it, and has an aesthetically pleasing glossy finish.
For all these reasons, when it comes to the crystal structure of chocolate, type V is king.
How is tempering related to melting point?
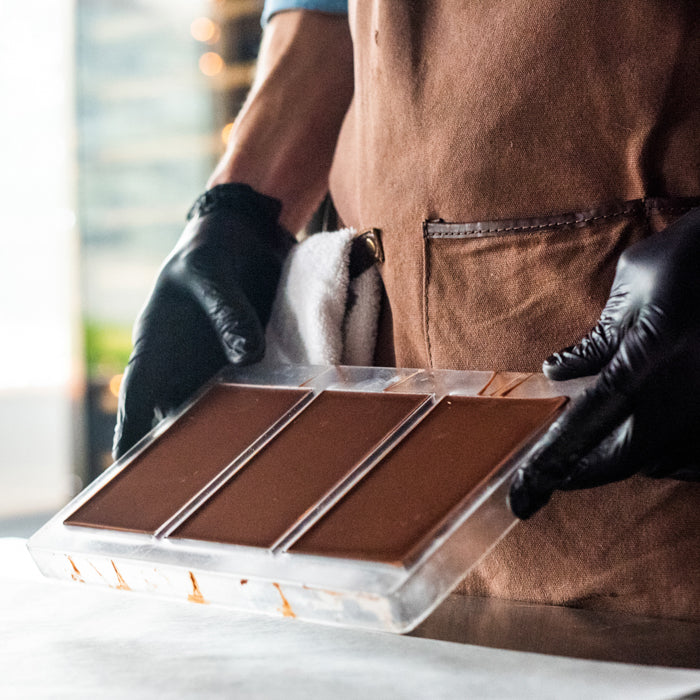
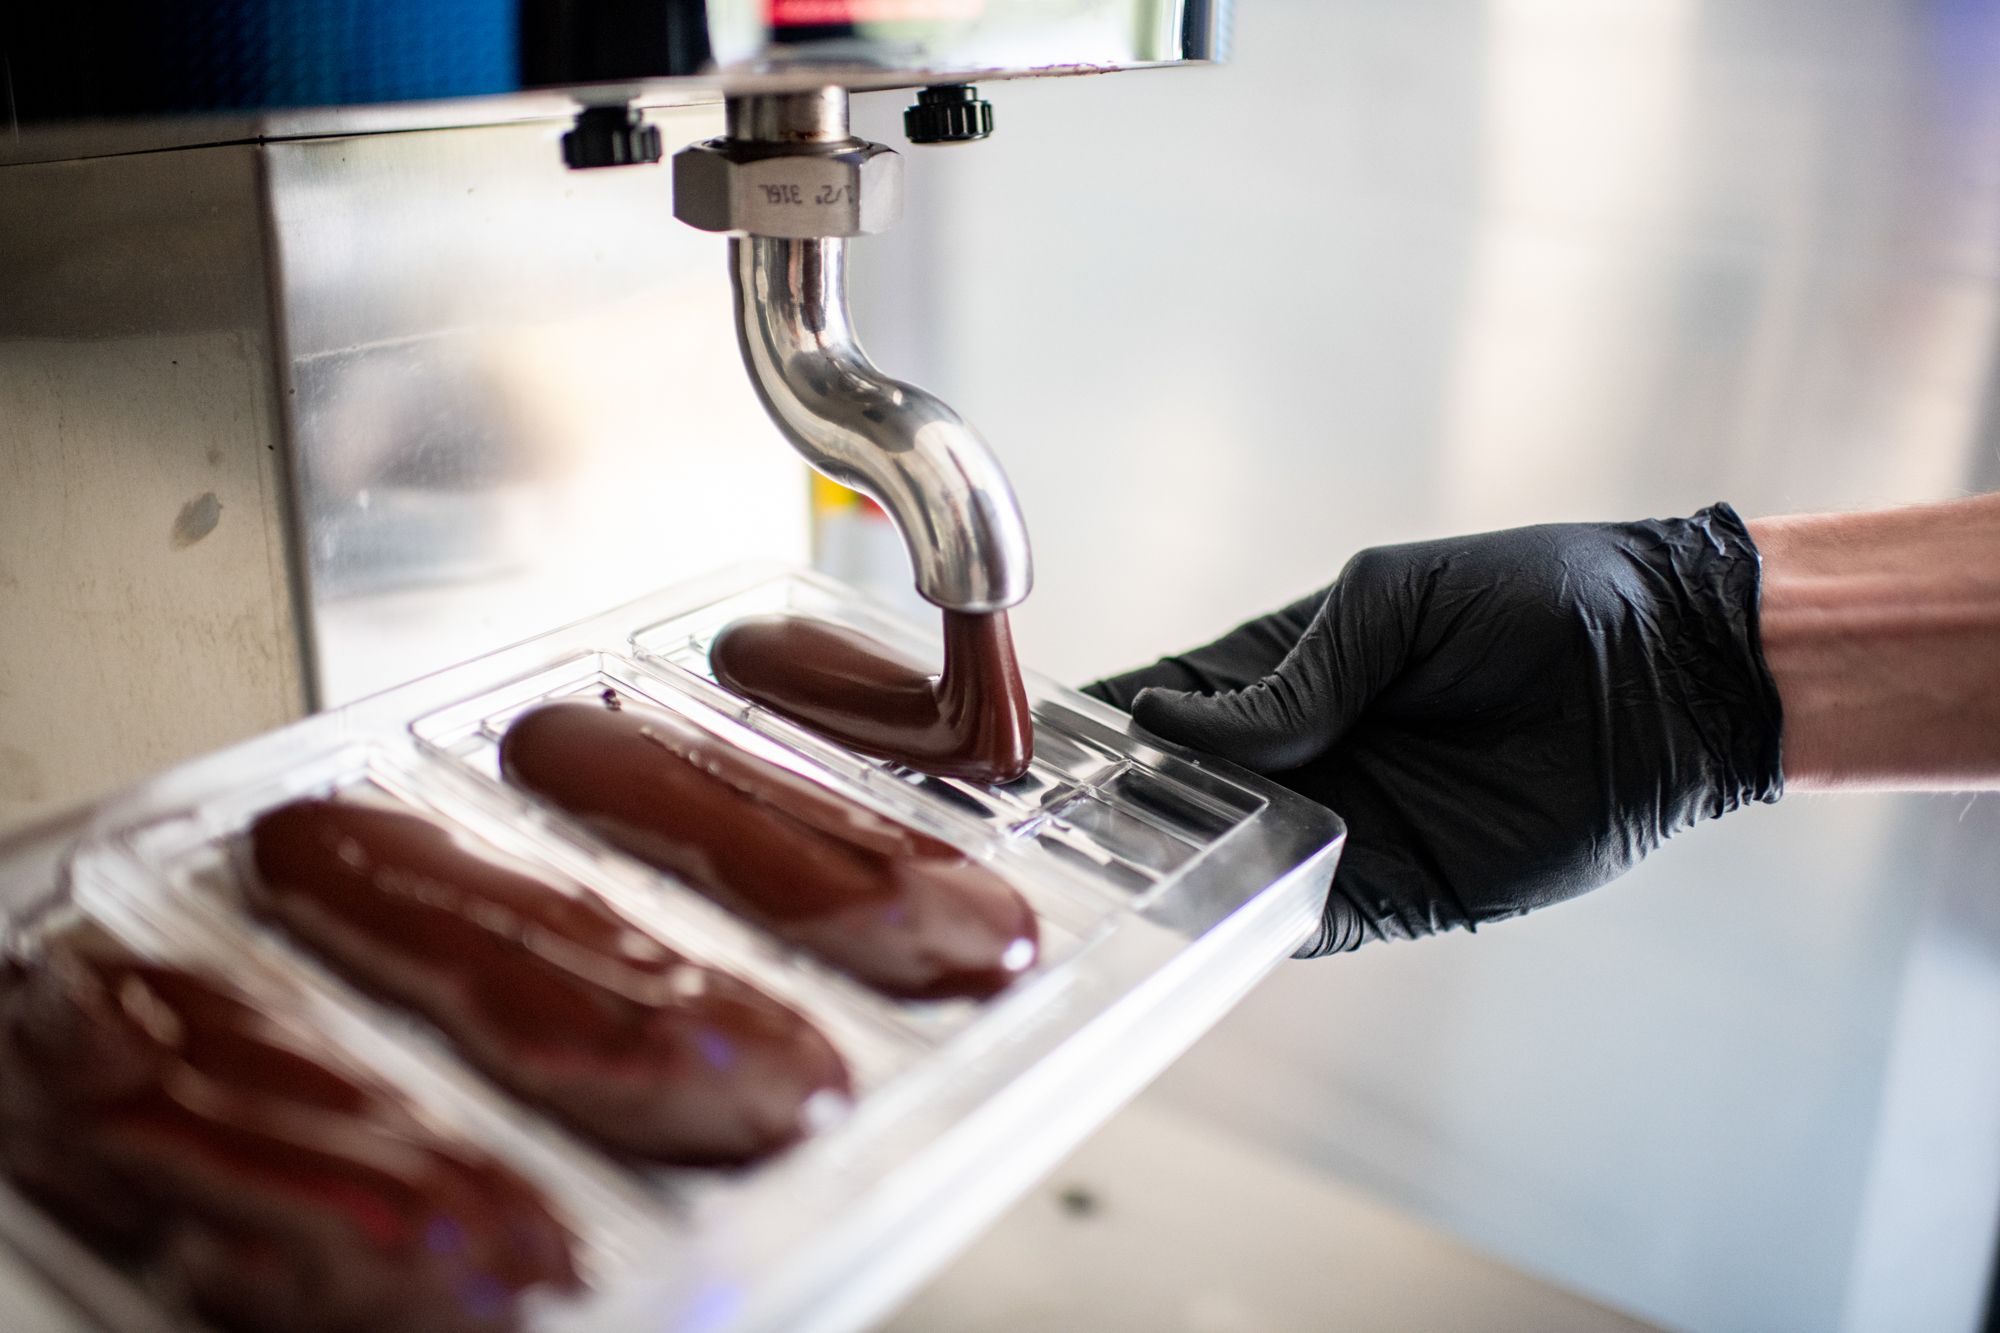
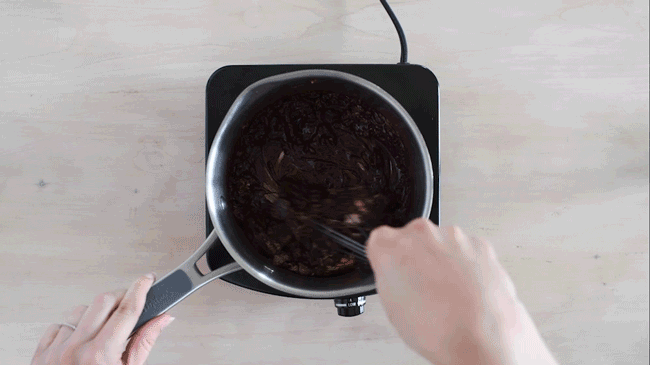
You can’t just pour liquid chocolate right into a mold to get those crystals. In order to properly form chocolate, chocolate-makers use a process called tempering.
The key principle that makes tempering work is the fact that the different types of crystals melt at different temperatures. In the first step, liquid chocolate is heated to a temperature above the melting range of type VI crystals so that all crystal types melt into a disordered state.
Next, the liquid chocolate is cooled while being agitated to encourage the formation of type IV and V crystals. In the final step, the chocolate is heated again, this time to just below the melting range of type V crystals, but above the melting range of type IV crystals. This helps to turn the type IV crystals into type V crystals.
To see for yourself just how much of a difference tempering makes to the qualities of chocolate, there’s a simple experiment that you can try. Next time you have some chocolate you don’t mind sacrificing in the name of curiosity, melt a piece until it is completely liquified, then let it cool and compare it with an un-melted piece from the same bar.
You should notice that the piece you melted will be matte, somewhat crumbly, and messier in your hands than the other piece. Can you guess why?
After you melted all those type V crystals, the cooling process left a mishmash of different crystal types, so your chocolate lost its perfect combination of look and feel.
Do different kinds of chocolate melt at different temperatures?
Yes! As we mentioned earlier, mixtures melt across a range of temperatures, while pure solids melt at a single temperature.
In addition, mixtures melt at lower temperatures than the pure solids that make them up, because a less uniform structure means the forces holding everything in a mixture together require less energy to overcome.
With those two facts in mind, it should come as no surprise to learn that dark chocolates generally have higher melting points than milk chocolates.
In addition to the cocoa products, sweeteners and flavorings that dark chocolates can have, milk chocolates have milk fat in them. This extra ingredient adds some atomic complexity to the structure of milk chocolate, which brings its melting point below that of dark chocolate.
While the type V crystals in cocoa butter melt at 90-93 degrees Fahrenheit, the exact melting range of a specific bar of chocolate depends on the ingredients in that bar, but dark chocolates will reliably be closer to this range than milk chocolates.
How can I melt chocolate at home?
With all that information about the science of melting points on the table, the prospect of melting chocolate for a recipe at home may seem daunting. This post isn’t supposed to be a complete guide to that process, but here are a few helpful tips to keep in mind.
For one, chips or wafers will be easier to melt than a solid bar. If you want to start with a bar when melting chocolate, breaking it into smaller pieces will make your life much easier.
Since chocolate melts below body temperature, you don’t need to crank up the heat. A gentle heat that will get your chocolate up to around 100 degrees Fahrenheit is plenty, and be sure to stir regularly to avoid any burning.
If you’ll be letting your chocolate set after you melt it — for something like chocolate-covered strawberries, for example — you can cheat the tempering process a bit by melting a portion of your chocolate completely, then stirring in some leftover solid chocolate. This will “seed” your melted mixture with type V crystals that will encourage the formation of more type V crystals as your mixture cools off.
There are plenty of more in-depth guides to melting chocolate at home out there if you’re interested in learning more.
For something as simple-seeming as making sure your chocolate will melt at the right temperature, there’s a surprising amount of effort and thought that’s required. I know it’ll be hard not to remember the next time I’m letting a piece of chocolate melt on my tongue.


Leave a comment (all fields required)